Normal Hours of Operation Information About Plainsman Products ClaysLow Temperature ClaysMedium Temperature Clays High Temperature Clays Porcelains Other Clays Native Clays Casting Slips MaterialsDry MaterialsStains Encapsulated Stains Liquids GlazesSpectrum Opaque Gloss Low Fire GlazesSpectrum Majolica Colors Spectrum Raku Glazes Spectrum Crystals Spectrum Ash Glazes Plainsman Dry Glazes Potter's Choice Cone 5/6 Glazes Celadon Cone 5/6 Glazes Amaco Satin Matte Glazes Spectrum Hi Fire Cone 6 Glazes Spectrum Shino Glazes Cone 6 Liquid Brights UnderglazesCrysanthos UnderglazesSpectrum RAC Underglaze Pens Amaco Velvet Underglazes EnamellingEquipmentKilnsElectric Pottery KilnsElectric Glass Kilns Kiln Furniture Cones Elements Kiln Parts, Accessories Exhaust Systems Refractories Potter's Wheels Slab Rollers Hand Extruders Scales Banding Wheels Air Brushes ToolsBrushesThrowing Tools Trimming, Turning, Cutting Tools Wood/Bamboo Tools Rollers/Stamps Decorating Tools Glazing Tools Ribs & Scrapers Ribbon/Wire Tools Rasps Knives, Needle Tools, Cutters Tool Kits Unclassified AccessoriesMiscellaneous AccesoriesCorks/Stoppers Cork Pads Oil Lamp Accessories Dispenser Pumps Teapot Handles Bisque Tiles Books | Using Clay With ChildrenClay is Dirt!It dries, it does not set. So it does not harden like plaster, if exposed to water it will turn back into mud. Wet clay is "plastic", that is, it willingly assumes a new shape (opposite to elastic). Clay particles are very tiny (microns in size), clay is plastic because the particles are electrically charged and attract water molecules. Dried clay is not strong, it needs to be baked in a kiln to turn it into a rock! More expensive clays are better, they are smoother, more plastic and dry with fewer cracks. Consider starting with Buffstone. When you are ready for the most plastic and whitest body that works best with bottled glazes, try L213. Terracotta (red burning) clay fires stronger but brightly colored glazes do not work well with it, use L215 for that. Firing the PiecesPotters make stoneware, they work at cone 6-10 (about 2200-2350F). Schools make earthenware at cone 06 (about 1850F). Kilns last longer and fire much easier at cone 06 (a firing can be done in half the time).
GlazesA glaze is just a mix of powdered minerals/glass/clay suspended in water with a little gum (glue) to harden it a little on drying. Glazes melt to a glass during firing (for decorative pieces or models it is OK to bisque-fire ware and then just paint it with acrylics).
SafetyThe hazard label: Clay is non-toxic, the label refers to silicosis. This happens when people breathe the dust over a period of many years (thus farmers, gardeners can get silicosis). Keep the floor clean. Glazes: Use white or transparent glazes on food surfaces, brightly colored elsewhere. Clay Shrinks When It DriesSo if one part of a piece dries (and shrinks first) then when the other part shrinks a crack will occur.
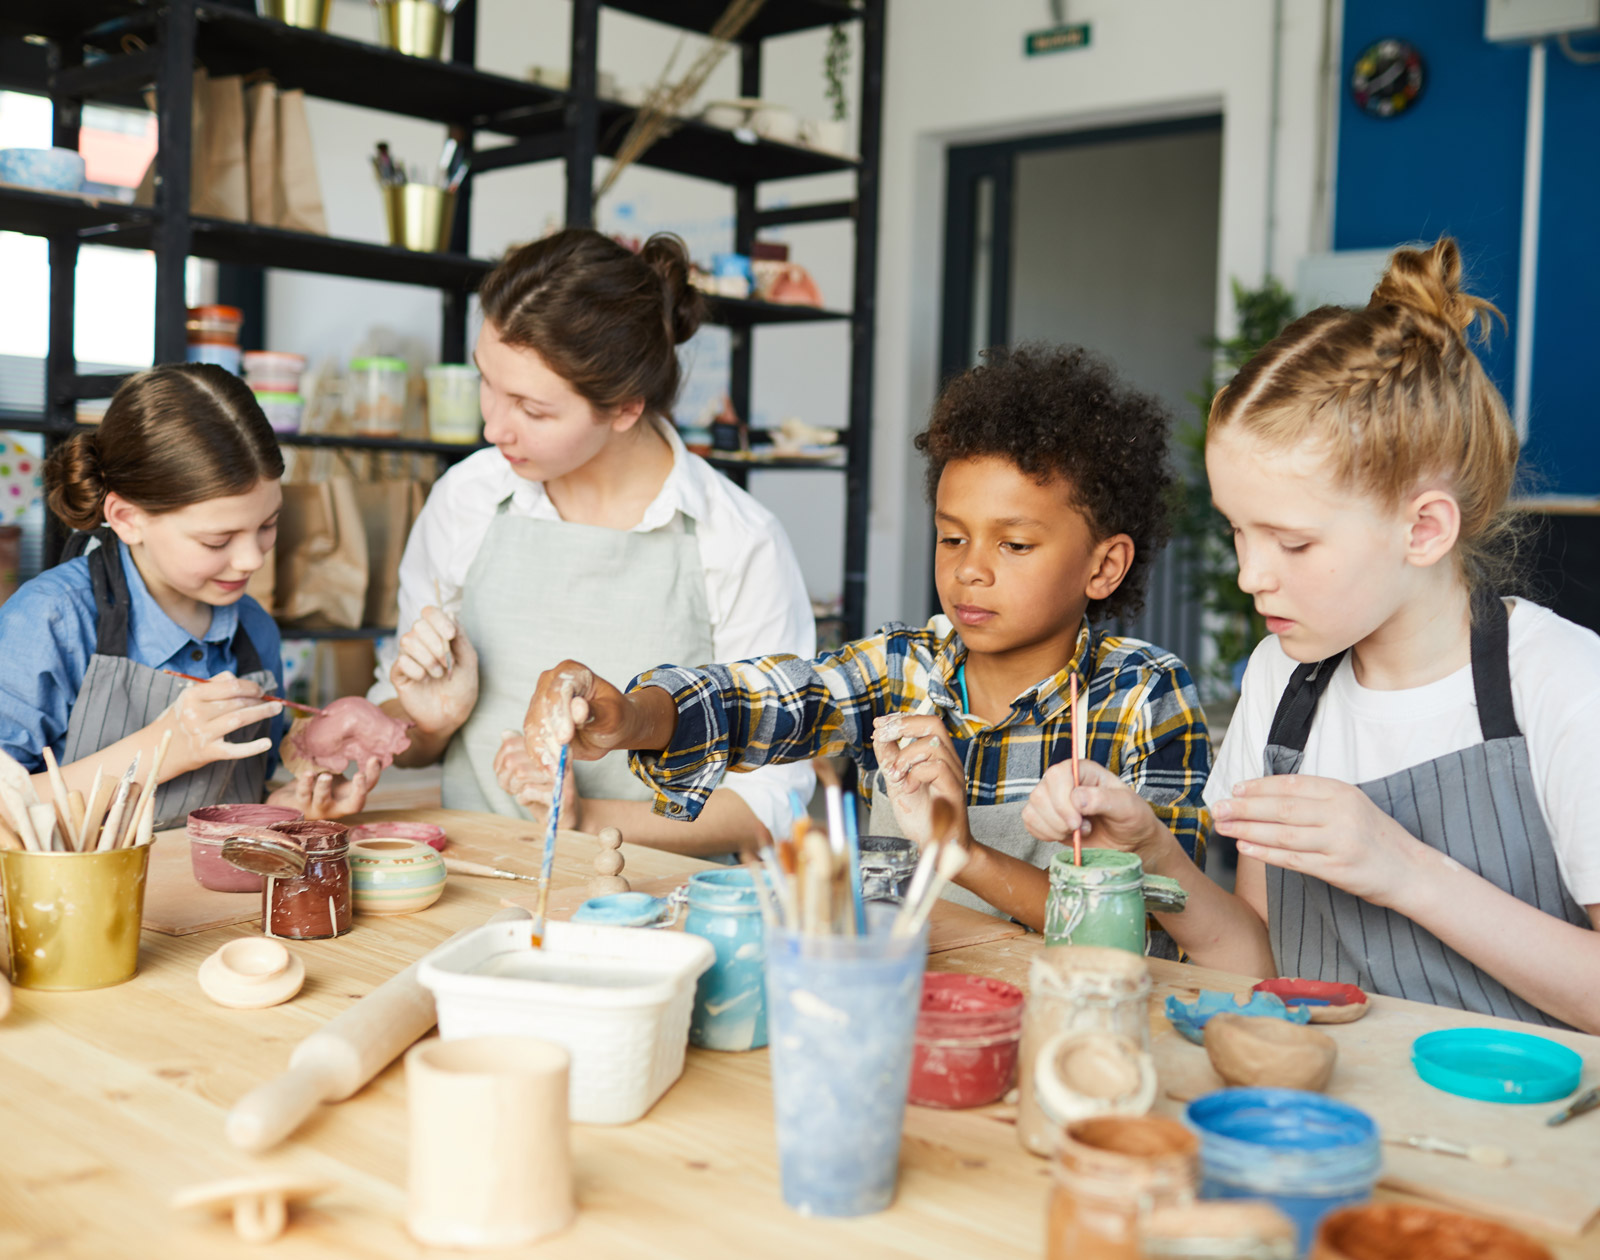
Rolling Out ClayClay can be sticky, especially if it gets wet. Work on an absorbent surface (e.g. particle board, canvas board), no water is needed (that will just make a big mess). Joining"Slip" is used to join things (don't use water, it will cause splits). Slip is just the clay with extra water so it can be painted. Make it by crushing some bone-dry scrap clay (into pieces smaller than marbles), then put this in water. It will slake and settle on the bottom in a few minutes. Pour off the water and stir it. The thicker and more creamy it is the better. Or, make a bowl shape from wet clay, put a little water into it and stir it around with a brush to work up a foamy, thick slurry; you can use that as slip. Clay Dries Out if You Work To LongTeach the children to plan what they want to make first. Then use a deliberate set of steps to achieve that. If they do not do this the clay will dry out too much as they work on it too long. Let them know it is OK to attempt a piece multiple times before they get success. Consider watching a few Youtube videos on handbuilding before introducing the clay to the class. InspirationGoogle pictures for "clay animals". Or "clay houses". Or "clay hand building". It is often a good idea to help the children make something they can use (like a bowl, plate or cup). To do that the clay needs to be rolled (google "rolling clay slabs" for a youtube video). Consider watching videos about ceramic masters to inspire the class (e.g. google "korean pottery masters" or "japanese pottery masters"). |
Plainsman Pottery Supply, 9517 - 41 Ave NW, EDMONTON, AB T6E 5X7
Phone: 780-440-4791, FAX: 780-490-7591, Email: larry@plainsmanclays.com
